Halloween Ribbon Wreath Tutorial
(Click here for a page that contains supplies used in this tutorial)
Supplies:
XX167907 Fuchsia Metallic Pencil Wreath 10"
X334809-19 1.5" Orange Glitter Lame Ribbon
X334809-09 1.5" Lime Green Glitter Lame Ribbon
X313509-21 Sheer Halloween Ribbon with Glitter Stripes
X00001-09025-B009 Glittered Honeycomb Purple Ribbon
497120 LED 48 Cool White Twinkle Lights Black Cord
RD105323 Purple Cotton Candy Wired Roping
This ribbon strip wreath was made using a 10" Fuchsia Metallic Pencil Wreath. We chose this style wreath so we could put loop bows in the twists and also use the twists to attach LED lights. Any style of ribbon could be used for this project but we chose 4 styles of heavily glittered ribbon. Ribbon with texture seemed to work better than the one sheer ribbon we used. All the ribbon on this project was 1.5"
Let's get started!
Cut Ribbon Strips:
We chose the Orange Glitter Lame ribbon to make the loops out of. Ribbon strips 30" in length were used and a simple bow made and attached in each set of twists. Be sure to make your bow where the glittered side is up. We cut all then ends of the ribbon at a right angle.
The Purple Honeycomb, Lime Glitter Lame and Sheer Glitter Stripe ribbon strips were cut 12" in length. We used the entire roll of each ribbon except for the Purple Honeycomb which is a 25-yard roll. We have about half of it left over.
Attach Ribbon Strips:
The 12" ribbon strips were simply tied in a knot to the metal work wreath frame. We intended to put equal amounts of ribbon strips on the inner, middle and outer ring, but we started filling in the inner and outer rings first. Good thing....we wouldn't have had enough ribbon to put the same amount of ribbon strips on the middle ring. We did put some there, but we put the bulk of the ribbon on the inner and outer. You can put as many as you like. You really just want to cover up your metal rings so they don't show.
The 12" ribbon strips will twist and roll to the back and inside, but once you get more ribbon strips added, there will be less twisting. Plus once you hang it on your door you will need to fluff and straighten all your ribbons.
The ribbons tied on in this style have to be straightened out again with each step, so you might as well wait and do it all at the end)))
Add Cotton Candy Roping:
The Cotton Candy Roping is wired, so we just secure it in one of the twist and let it curl and meander around the wreath, only attaching here and there....not in every twist. It did not take the whole roll of Cotton Candy Roping.
Attach LED Lights:
We used a set of 48 Cool White LED Twinkle Lights on a black cord. These are new battery powered lights that just came in and are available in light counts from 24 up to 480. The lights come in Cool White, Warm White and Multicolor and are available on a black or transparent cord.
The battery packs are very durable and made of a high grade plastic. These lights are suitable for indoor or outdoor use. They have 8 light functions and a timer that allows the lights to burn for 6 hr, shut off automatically and come back on in 18 hours. So you can just decorate with your lights and turn them on at the time of the day you want them to come on everyday. They're set to operate in that manner and batteries will last around 30 days.....enough to get you through the holiday season)) The larger light sets operate over D batteries and those lights will last about 50 days. Of course this is all based on the quality of the batteries and the weather conditions.
The battery pack was secured to the back of the wreath frame with a chenille stem.
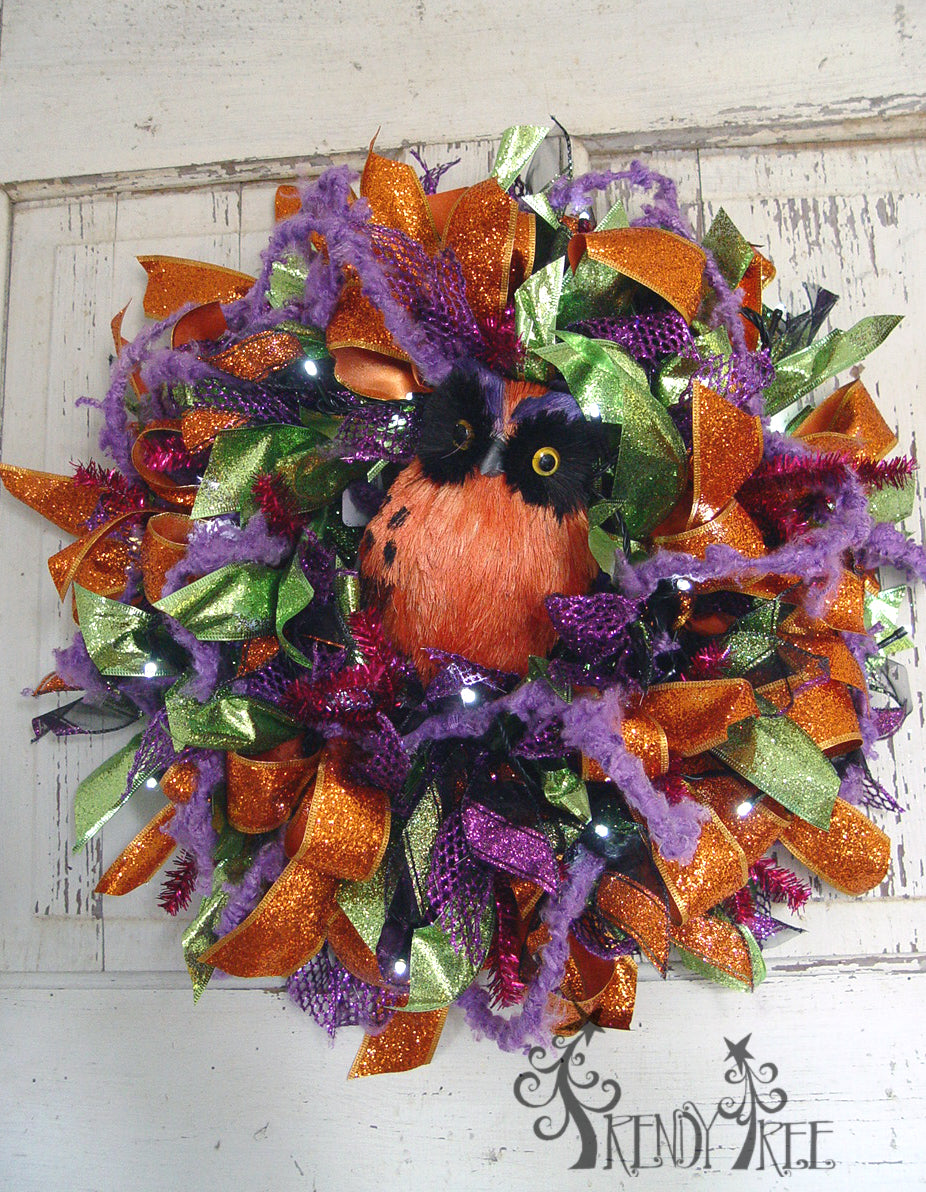
Attach Owl:
We used a RAZ Halloween Owl in the center of the wreath. This can be secure with clear fishing line or you could insert a wooden floral pick with a bit of hot glue if you wanted to secure it more permanently.
We have added a number of additional photos with some other items that could be used on this wreath.
Summary:
The overall width is around 19-20" Working with glitter ribbon is very messy! But if you were using a different sort of ribbon ...this is a super easy project that you could work on while watching TV with the family etc. If you can tie a knot....you can make this wreath)))
The wreath could also be made on a Box Wire Wreath form, it wouldn't have to be the Pencil Work Wreath. You could make it using nothing but 12" ribbon strips if you wished. Lots of opportunities to change this wreath up to make it work for you. Using a 24" wreath size would require more ribbon of course.

J6040 Halloween Owl

HH7114J6 Glittered Skull also available with purple eyes

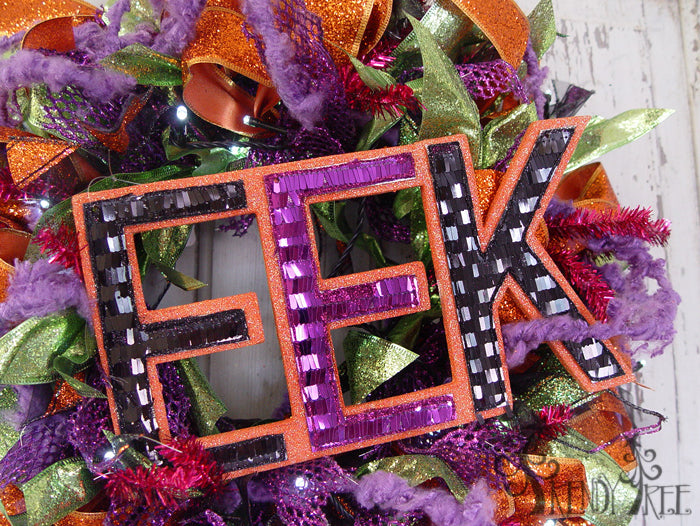
H3316199 RAZ Spooky Sign

H3316199 RAZ Purple Spooky

H3452502 RAZ Halloween Owl - 3 Different Styles

J6040 Halloween Owl

H3302645 RAZ EEK Sign
H3452502 RAZ Halloween Owl - 3 Different Styles

Subscribe to our Videos!