Do you find it frustrating to make a beautiful wreath and your photo just not do it justice?
Well, it happens to all of us. I'm no expert photographer, but if you're into e-commerce, home business, blogging or whatever....you have to do a little photography))
A few years ago folks would ask me about their wreath images and I would always say.....get a good digital camera. Well, nowadays, the iPhone and other smart phones have great cameras, but sometimes you still need a good digital camera for closeups using the macro setting.
I still use both, a Sony digital camera and my iPhone. Sometimes I will take images with both cameras and go with the best image. It seems that the iPhone gives the best color accuracy most of the time.
Anyway, here's a few tips from my experience:
Camera Settings: The more pixels, the better. Yes, it uses up your space, but you can always delete the images when you're finished.
Move them to a folder on your computer and get them off your phone or media device. If you don't take images with enough pixels to start with, and then you crop, you'll wind up with a less than sharp image.
After editing, keep images still around 1,000 pixels.
Focus: The image must be in focus. If you shake or just can't seem to get your image focused, use a tripod.
If you're shooting really close, use the macro setting on a digital camera.
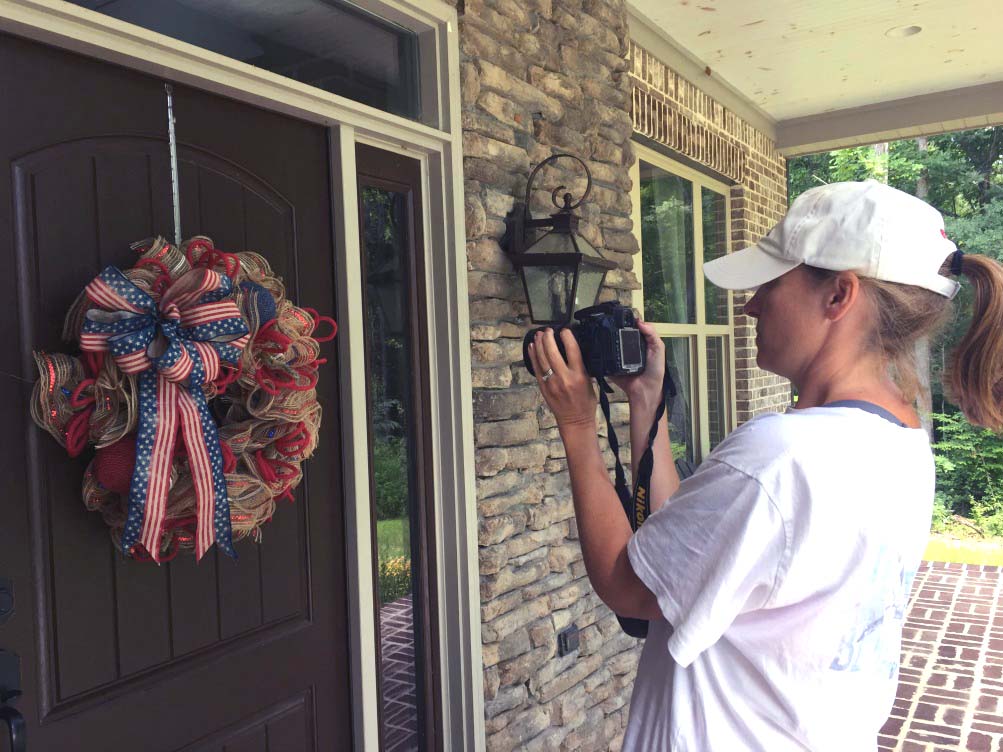
Camera Angle: When placing a wreath on a door sometimes shooting up or down at the wreath presents a nice images, but most of the time shooting directly in front of the wreath at eye level is the best.
If you shoot upward the sides of the door or door frame look uneven (narrow at the bottom wider at the top and vice versa).
Keep a step stool handy so you can get right in front of the wreath if necessary. Take images in portrait mode and landscape. Portrait works best for Pinterest most of the time.

Notice any straight angles that you have before you shoot and adjust your position if you can.
This is a problem I have when shooting wreaths on my front door. We have a front porch that is only about 6 ft deep and if I back up far enough I have to start going down the front steps and I wind up shooting upward at the wreath.
You can "straighten" your image some using programs like Canva or PicMonkey, but it enlarges the image when you do this so allow yourself enough room for straightening when you crop.
Taking a shot from the side will show the depth of your wreath.

Close-up shots are great for showing off your bow-making skills or embellishments like signs that have wording on them or pretty bows.

Save yourself some time when photographing your wreaths.....take one shot and look at it closely before you take more.
Isn't it strange that we can work on a wreath and adjust and fix and fluff....hang it on a door and start taking photos and then you see it! A big hole that you missed.....or ribbon strip that is too long, an embellishment that is hidden....etc.
Lighting: Natural light works the best. It's something you just have to experiment with.
Now we have lighting that we use for our videos and it may seem simple to set up when you're reading about it. But it's not!
It does help with our videos, but for images, most of the time we go with the existing light in the room if there is enough light coming in the windows.
You can test with a flash, but most of the time the best images will be with natural light. A flash will wash out wording on signs and make it so obvious you used a flash.
Outside lighting is great most of the time. Sometimes it can be a little too bright and you might want to wait until the end of the day or early morning light.
A good rule of thumb is take your image and then look at your wreath. Does the color look correct? Reds can be difficult to photograph. You can adjust the color on your image using software, but most of the time you may only need to brighten a little and up the contrast a tiny bit.
Be careful that you don't adjust your color too much. Images will never look the same from one device to another but for the most part there isn't that much difference.
When taking product images, keep the product close by when editing. That way you can tell if the color looks true or not.
Background: Wreaths most of the time go on doors, walls, easels, wreath holders, or lamp posts.
For our tutorials we will sometimes show the wreath on our work table or pegboard behind us, but we always take an image of it on a door too.
Your backdrop can be a door, wooden fence, room divider, free standing door etc. Showing the wreath in its "normal habitat" helps to show the size in proportion to the door versus a wreath with a blank background.
If you don't have a pretty front door, or one that doesn't lend itself well to photography, visit a friend who does! Or if your door color doesn't do anything for the wreath....take it somewhere else. You an also hang your wreath on a fence, on a tree, a garden gate. Just take the wreath and walk around outside, look for a place to photograph. You might be surprised to find a spot in your backyard you hadn't even thought about.
Your background for your image can become as well known as your watermark.
White or off white walls and doors can really come out yellow or muddy on images and this is difficult to edit. We had an old vintage door that we used sometimes.
My only problem with the door was getting close enough to get the whole wreath in the image without showing that it was a free standing door leaned up against the wall in the shop!
There was an image on Pinterest where someone resolved this dilemma by placing the old free standing door out in the yard in front of trees. The wreath was photographed on the obvious free standing door with the grass and trees in the background and it was lovely.
This would have worked for me until the grass had to be mowed. Don't know about you, but if my husband had to move that door more than once, it would have been history!
If you have to place your wreath on glass, watch that you don't get your reflection in the image. Sometimes we can get so focused on looking at the wreath in the camera, that we may not notice things in the background, cluttered room, pets, kids...etc.
Editing: Just experiment with cropping and editing. Occasionally we will take out the background on wreaths completely.
We do this when we want to use the wreath for a title for videos, or perhaps the background just doesn't work at all.
Images can be enhanced by feathering or fading out the edges too. We use Adobe Photoshop Elements and Canva for most all the editing that we do.
There are features like sharpening the image, adjusting color and a host of other things. Just be careful that you don't edit the image too much. You can also make corrective coverups.
For instance a wayward string that you missed clipping or a wreath holder that screams Christmas and you're using it for a Patriotic wreath. Things like this can usually be edited out of the photo and doesn't do anything to detract from your wreath's value.
We have been using Canva for a few years now and have had no regrets at all. It has met and exceed my expectation. I'm typically using Canva several times a day.
Canva is perfect for collage images, adding text overlays, long pins for Pinterest and much more.
Watermarking: This is really a touchy subject. When we first started in selling products we didn't watermark anything, then as our product images were ripped off, we started watermarking.
Then as we reviewed more and got into Google shopping, Amazon, etc...we stopped watermarking.
Google Shopping doesn't allow images with watermarks nor does Amazon. Are our images still ripped off?
Yes, but as our business has grown you just have to learn to let it go. It's not worth chasing down unless someone has really violated your space.
Once there was an image of one of my grandchildren (taken from my blog) and used on a soft, I hesitate to say porn site, but more of an adult content site.
The image had absolutely no relation to anything that was on the page! But yes, I fought tooth and nail with Google to get that image off and they responded by removing the image.
Now, most of the folks reading this are not submitting feeds for thousands of products to Google Shopping, so watermarking may not be a problem for you. I would just say, read up on what is allowed and what is not.
You will still see some images on Trendy Tree that are watermarked, but as we add new products nothing is going up with watermarks anymore. We have thousands and thousands of images out there and it's impossible to pull them all down now and correct them. So, we have some products for sure, that are not making it into the Google Feed, but all our Amazon products are clean images.
Here's what Etsy has to say: While some sellers use watermarks, we generally wouldn’t recommend them. Using watermarks makes photos unsuitable for features within Etsy (like Etsy Finds emails), and ineligible for off-site advertising programs like Google Shopping.
Instead of watermarking, if you have a brand associated with your shop — whether it's a logo, a specific font for your shop name, or a packaging style — try including it within your listing image (but not as an overlay).
This way everyone will know who made the item. I know how frustrating it can be to have images ripped off, especially on a handmade item like a wreath! You just have to weigh the options.
Would your wreath have more opportunities to sell without a watermark versus the likelihood of the image being copied.
One great example of branding with or without a watermark is Fancy That. They may use other spots to take their images, but all the ones I've seen are taken on that beautiful wooden arched gate door.
If the image below didn't have a watermark, wouldn't you just know it belonged to Fancy That?

Hope this bit of information helps and if you have tips that have worked for you I hope you'll share!
Just drop me a note or make a comment here. We would love to hear what works for you! Happy shooting!

My Craft Table
(This post contains affiliate links.) Save Save Save Save Save Save Save Save Save Save Save Save Save Save Save Save Save Save Save Save