Reposting of a favorite tutorial from 2017: Same products will not be available, but you can substitute with similar one.
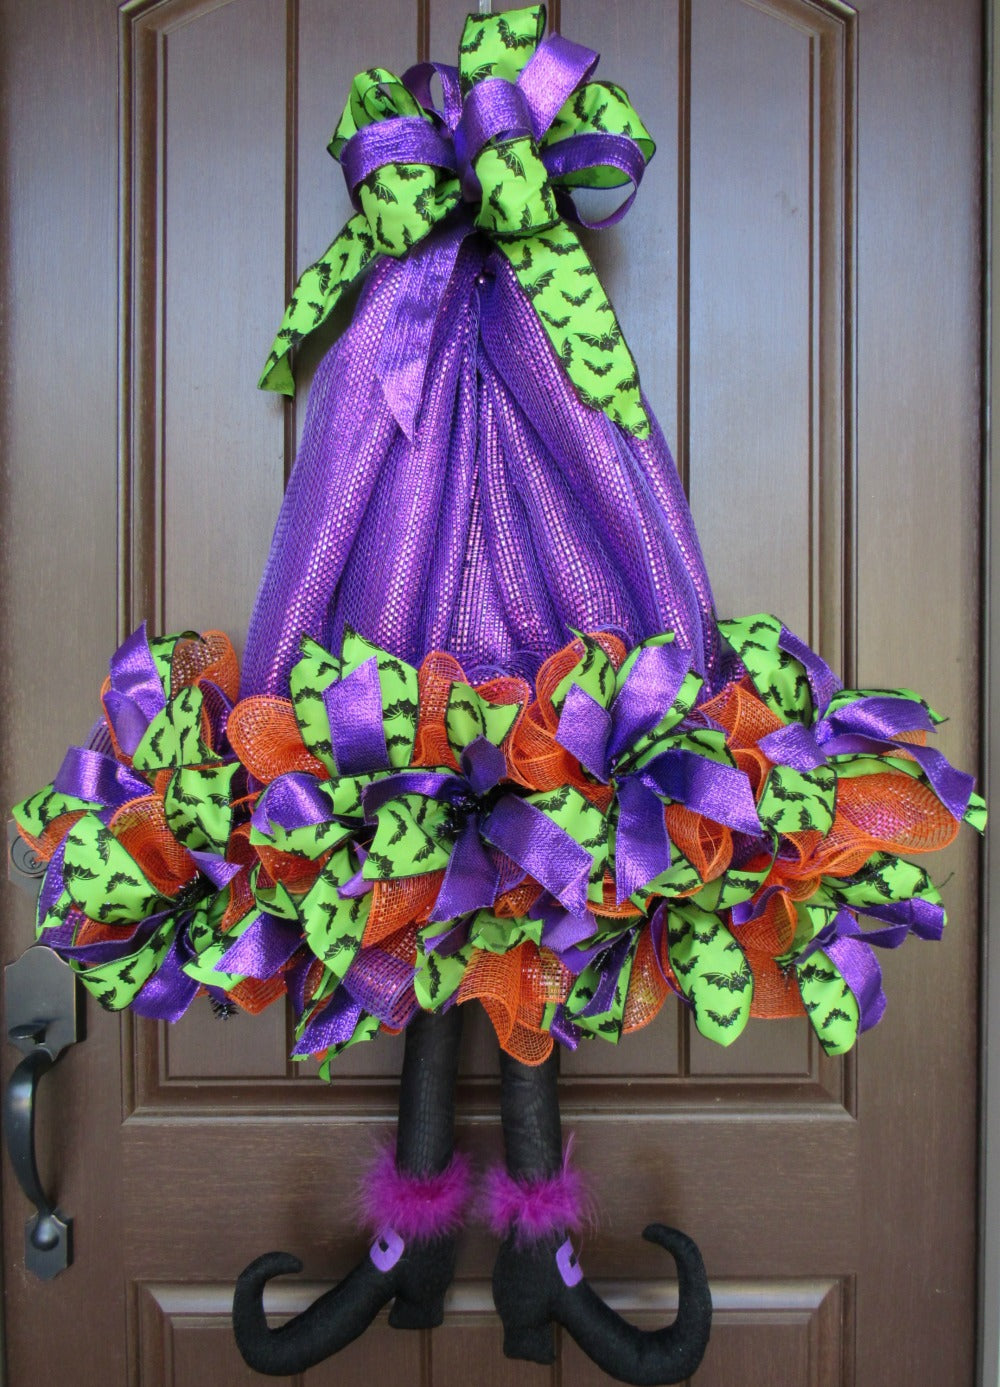
Here it is! A new tutorial using a brand new style of form - the Witch Hat Work Form.
On our last visit to Craig Bachman Imports, Craig was asking us what we needed. He's always very interested in what our customers are having to say about his products and he's very receptive to trying to deliver! We told him we needed a form that could be used for a witch hat, Santa hat, elf hat etc.
We worked out the dimensions and he came up with this great new form. We'll show you the image further down in the post. This witch hat could also be made on an open tree form (out of stock right now, but more are coming) or two straight ribbon rails.
Just browse our tutorials for other projects using these forms. Different choices in mesh, ribbons and legs can be made too. If you choose to make the project out of a different mesh with less foil, you might want to plan on using an entire 10 yard roll (of 10" wide mesh) for the upper part of the hat to get good coverage and just make the ruffles in a contrasting mesh. You will would need one roll of two colors. Or you might want to make it all one solid color and just let ribbons be your contrast. Lots of options with this project!
The products for this tutorial will be contained in a kit. But we'll leave the tutorial up even after the kits have sold out since the basic directions can be followed and other other items chosen to make a similar or something with a totally different look.
We try to gear all our tutorial to basic instructions which make it easier for the new wreath maker.
Supplies:
XX778223Purple Witch Hat Work Form (available in kit only at this time)
3716121 RAZ Witch Legs with Black Feet (available in kit only, but other colors are available on website)
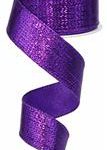
RH00963 2.6" Lime Black Back Ribbon RG0139923 1.6" Purple Metallic Ribbon (available in kit only at this time)
Update: Kit has sold out, no more will be available. Instructions will be left on the website since other products can be chosen and basic instructions followed.
Witch Hat Form: You will notice in the video that we were using a
black form, but a purple metallic form will be included in the supply kit. We re-use things here in the shop and we do that just to save on products.
The new witch hat form measures about 21" and has about 15 ties. The ties are always positioned around a form a certain amount of inches apart and not necessarily always at the corners etc. So we added some ties using chenille stems.
You could also use floral wire. Here's an image with arrows showing where we added the chenille stems. If it works out to where you have a natural twist in these areas on your form, just use the ones that come on the form, so are close enough.
The twist that you won't use are the ones going up the sides of the "hat" You can just tuck those to the inside to get them out of the way.
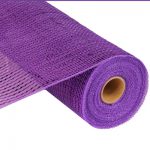
Purple Wide Foil Mesh:
We chose the purple wide foil mesh because of it's density which should provide good
coverage for the top of the hat for this project.
We started by grasping about 3-4 inches from the end of the mesh and securing in the top twist. We then sort of smoothed out the mesh letting the sides roll inward and pulled the mesh down to the center twist and secured.
You want to pull your mesh fairly snug, not too loose and not too tight. Isn't that about clear as mud! Just practice a bit and if you have a length that turns out to be too loose or too tight you can adjust it.
Please forgive the quality of the images we'll using showing some of the steps. They were captured from the video and not great quality but they show the idea. Just overlook the expressions on the faces etc...lol
Once you have the mesh attached in the middle of the form, don't cut anything, just pull the mesh back up to the top center twist (where you started), open that twist and secure again.
Once secured, pull your mesh back down toward the bottom of the wreath and secure in one of the chenille stems you added. Your chenille stems will slip and slide around but once you have all your mesh attached, it really won't matter.
Continue working up and down your mesh until you get one side covered, then bring the mesh down on the other side. If at some point you are afraid that if you unto your twist at the top that you are going to lose control of the mesh at the top, don't undo it, just secure the mesh using the remaining ends of the twist.
When you have worked the mesh back and forth enough times, you should have it attached in about five places across the bottom.
You don't want to attach the mesh all the way out to the edge of the form on the bottom, because you want to keep the hat proportional. The brim of the hat should be wider than the base of the hat. And it will be because your ruffles will stick out further.
In the image above, we had not added our twist to each corner as yet. You will also see gaps in the mesh between your attachments. These will be covered up once you start adding your ruffles. Next we cut the remaining mesh into 15" lengths.
These are great tools for wreath making and we used to sell them on Trendy Tree, but now we just provide you our affiliate links to Amazon. As a business owner, you always hate to send customers to someone else's business, but you do want your customers to find what they need)))
So, this paragraph contains affiliate links. You can also purchase replacement blades for the cutter.
It took approximately six yards of mesh to cover the top so that gave us about four left for ruffles. We needed about 10 ruffles to cover the bottom and the math worked out pretty good!
Our last ruffle was a bit short, but don't worry, you could never tell))) To make your 15" ruffle, just let the mesh roll up in it's natural state.
Smooth out the mesh and start in the center, selvage edges to the outside. Scrunch up through the center of the mesh making a ruffle.
Add the ruffle to the twists along the bottom of the witch hat form. There are two wires across the bottom of the form and you should be able to add 10 ruffles. In the video, you will note that we added the chenille stems to the corners of the form last as we realized we needed ruffles in that position to make the brim of the hat wide enough.
Again, you can still see some gaps in the mesh, but as we add more products these will be covered up.
For contrast, we added a second layer of ruffles using the orange wide foil mesh. We used up our roll of purple mesh completely but it will only take part of the orange roll. For the orange ruffles, we cut them in 20" lengths. They were cut in the same manner as the purple using the cutter and mat.
Please note that you will have some raveling. It happens will any and all mesh products. Typically in the past we usually cut ruffles in 10" lengths and would use a stack of three. But making your lengths longer does help cut down on the raveling. It's strange, you know the old saying of what goes around comes around.
Initially when we first started making our ruffles years ago, we cut longer lengths, and then we thought it was better to make shorter lengths.....go figure. We watched Lori with Hard Working Mom and she cut her ruffle in 30" length to cut down on raveling and this does help.
So we've been cutting some 20" and some 30" just experimenting here and there. Back to the 20" ruffles, make them in the same manner as the purple. The thicker ruffles are a bit harder to hold on to, but still worth it if it reduces raveling.
To secure the orange ruffle, open up the twist holding the purple ruffle and lay the orange ruffle down on top, then re-secure the twist with three or four turns.
We placed ten ruffles on the bottom of the wreath. If your twists or ruffles don't come out to be ten exactly, don't worry about it! If you need to add more ruffles to cover up a gap or something, or you don't have enough purple ruffles, just fill in with orange. You'll have orange mesh left over, so use it.
Ribbons: Next step was to add the ribbons.
Purple, orange and lime are such great Halloween colors! Of course if
you wanted to, you could reverse the colors on this wreath and make and orange top and purple ruffles, either way would look cute.
We used a 2.5" lime with black bat ribbon and a 1.5" metallic purple ribbon. We chose to do ribbon strips for this project but you could add loops or small bows if you like.
To do ribbon strips, it's always a good idea to cut a test strip before cutting up your ribbons. We made a 12" strip and that worked well. Since we really didn't have a lot of places to add ribbon, we decided to double on the ribbon.
We took a piece of the lime and put the purple on top, then took another lime strip and another purple, making a cluster of four ribbons, just spread them out and hold pinched in your hand.
Add the ribbon clusters right on top of your ruffles by opening the twist, lay the ribbon cluster down and re-secure the twist with three or four turns.
If you're using you "added on" chenille stems, after the ruffle cluster has been added, you can push those chenille stem tips toward the inside so they won't show. We left our other twist showing, but you can tuck them to the inside too, just whatever is your preference.
I really like the way the lime ribbon stands out! Boom! Witch Legs: Next we added our RAZ witch legs. These legs are about 26" in length and can be shaped. We did not shape them for this tutorial. To attach the legs, the first thing we did was to put a zip tie around them to hold them together.
Sometimes it just easier to attach them as a pair instead of individually, but you can do this either way. Place your wreath on the door or wall to see about where you want your legs to be and secure them directly to the wreath form using zip ties or chenille stems.
If you like, you could always dress up the feet a little more by adding a bit of ribbon. The legs with black feet will be included in the kit, but right now, there are other colors available on the website.
Bow:
Our last step was to make a top to for the top of the hat. We have plenty of ribbon left over for a bow so we made a simple loop bow by taking both ribbons in hand and grasping at about 12" from the end (for the first tails). then we made about a six inch loop, twisted the ribbon to keep the right side up, and made six loops total.
We cut the ribbon off leaving more tails of about 12" We used floral wire wrapped in floral tape to secure the bow, but you could use chenille stems or even a zip tie.
If you use a zip tie to hold your ribbon, be sure to slip a chenille stem under the zip tie in the back so you will have something to secure your bow with.
Wrapping floral wire with floral tape is a trick that Rachel shared with us and it does hold things so much better!
You can make your bow using other methods of course, this tutorial is just a suggestion. We secured the bow to the top of the wreath (to the metal frame) and was also able to twist the ends of the wires together to make a hanger at the same time.
If you're not able to do this with the wire from your bow, just add a chenille stem or floral wire to the back of the form for a hanger.
You may want to position your wreath on the door first, before deciding where to place your hanger. Once I placed this wreath on Carrie's door, the hanger could have been a little lower on the frame for a better fit.


 shape them for this tutorial. To attach the legs, the first thing we did was to put a zip tie around them to hold them together.

