Building an Outdoor Kitchen - Part 2 The Primo Kamado Ceramic Grill
The search for outdoor kitchen appliances started way before our house was even close to being finished. We were not sure exactly what all we wanted, but the first appliance we wanted to nail down was the gas grill. But, we already had a charcoal grill so we'll talk about it first.
The Primo Ceramic Kamado Grill that you see edge beside the gas grill was a Christmas gift to my husband several years ago. If you are looking for a ceramic grill, you can't go wrong with the Primo. It's equivalent to the Green Egg. We've never used a Green Egg, but it simply can't be any better than the Primo.
Have you ever wondered exactly what a kamado grill is? Well me too....had to look it up. Don't confuse "kamado" with "komodo" which is a dragon)))
Here's what Wikipedia had to say: The name kamado is the Japanese word for "stove" or "cooking range". It means a "place for the cauldron". A movable kamado called "mushikamado" came to the attention of Americans after the World War II. It is now found in the US as a Kamado-style cooker or barbecue grill. The mushikamado is a round clay pot with a removable domed clay lid and is typically found in Southern Japan.
Primo ceramic grills are made in the USA. That's always a plus to my way of thinking. And BBQGuys has a huge selection to choose from! (PS BBQGuys and ShoppersChoice is one and the same.) We have received great customer service from these folks and we'll talk more about that later when we get into the other components of the outdoor kitchen.
Don't be fooled when shopping for a ceramic grill. You will see some at the big box stores that look similar, but go to BBQGuys and lift the lid on the Primo. Then lift the lid on a look alike grill at the big box store.....way, way different! I can hardly lift the lid on the Primo grill myself!
It's great for slow cooking and holds the temperature really well. It has a temperate gauge on the front that easy to see. It does use lump charcoal and not the briquette type. You don't use any sort of lighter fluid or that type product to light your fire.
The Primo has all sorts of stands that you can purchase. We bought ours several years ago and it was just a stainless steel stand with rollers and a shelf on each side of the grill which was very handy. The grill is extremely heavy and it takes two men to lift it in and out of the stand. When we bought ours, we didn't know that the future held a new house for us. So now, our Primo sits perfectly on the brick edge of our outdoor kitchen. The guys just lifted it out of the rolling stand and set it on the brick surface. There is nothing combustible about the counter space of the outdoor kitchen. So no worries that the bottom will get too hot or anything.
The above image is of course a brand new grill from BBQGuys. The image below is ours. It's several years old and has always been out in the weather except for the time it has spent on our new back porch. You can see that it''s held up very well with little to no care other than just to wipe off the surface or clean the grill surface. The ashes are removed from the bottom.
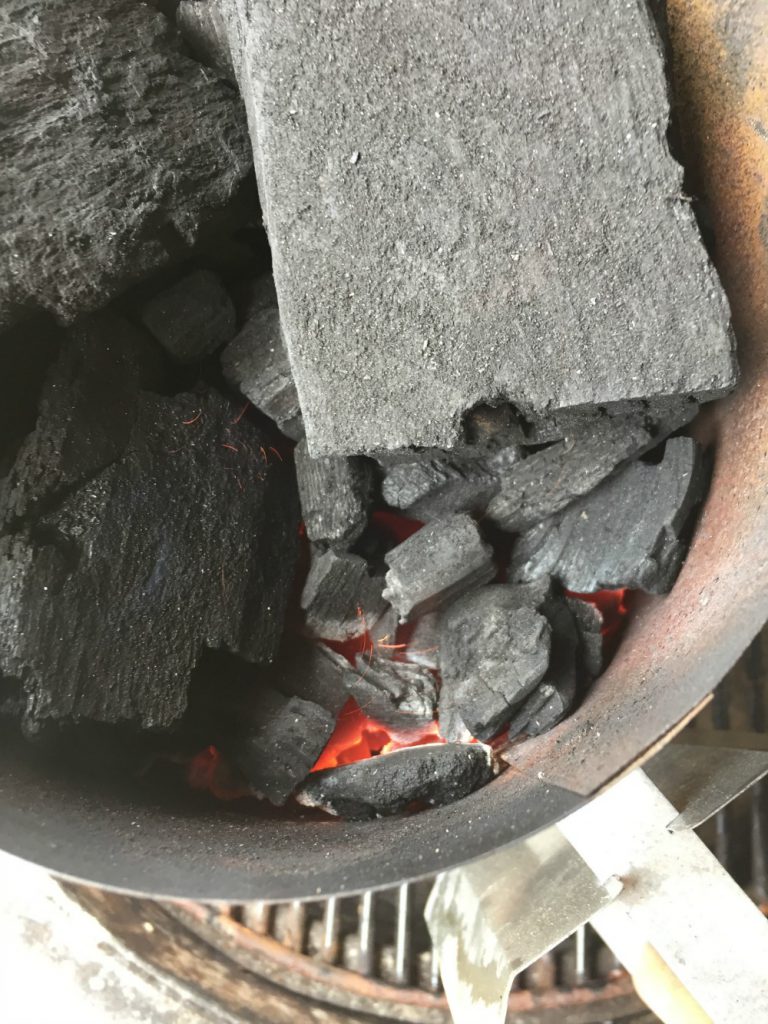
My husband uses a charcoal lighter chimney thing (not sure exactly what it is called). You can see it's had a lot of use! But he just puts a couple of pieces of crumpled up newspaper in the bottom of it and fills it will lump charcoal.
A bag of the lump charcoal is more expensive than briquette or any of the easy light stuff, but it lasts so much longer. Now, there is a whole debate out there about lump charcoal versus briquette. The main thing to remember here, is that you don't want any charcoal that has any additives in it. We buy the lump kind. It doesn't necessarily have to be Primo, but always the hardwood lump kind.
Light the newspaper and just let it sit for a few minutes until the coals catch on fire.This is so much safer than someone squirting lighter fluid on charcoal to start it. Ever been guilty of that? How many near misses have you had then the match gets tossed in and the fire goes whooosh!!
The chimney works perfect every time! Uses one match, no lighter fluid and nothing special. Thing can be used over and over. On average, it might take five minutes for the charcoal to get ready.
Once the coals are hot, he pours them in the bottom of the Primo, adds more as necessary and we're off to a good start. Today we're slow cooking ribs.
The temperature is controlled by the vent on the top of the grill and the vent at the bottom. Once your desired temperature has been reached, its really pretty easy to maintain. It will cook for hours and hours with very little attention.
Here's a little video of our back porch and outdoor kitchen.
In Part 3 we will talk about our Napolean Gas Grill - also from the BBQGuys!
More on our outdoor kitchen:
Building an Outdoor Kitchen - Part 1 The Dimensions
Building an Outdoor Kitchen - Part 3 The Napolean Built In Natural Gas GrillBuilding an Outdoor Kitchen - Part 4 Bull Natural Gas Burners
#This post contains affiliate links which means I may earn a small commission if the links are clicked on.