on all orders over $99
U.S. Orders Only (lower 48 states)
on all orders over $99
U.S. Orders Only (lower 48 states)

A simple bow can add so much to a project whether it be a wreath, door hanger, a sign on an easel or floral arrangement.
If you have trouble making bows, we can help you! First all, we have the products to make this a simpler task.
Watch this short video as we make two styles of burlap bows using the EZ Bowmaker.
Scissors
EZ Bowmaker
Wire Cutters
Zip Ties
Chenille Stems
Ribbon - we almost forgot! You will need ribbon. This tutorial was done with 2.5" burlap ribbon which was very stiff.
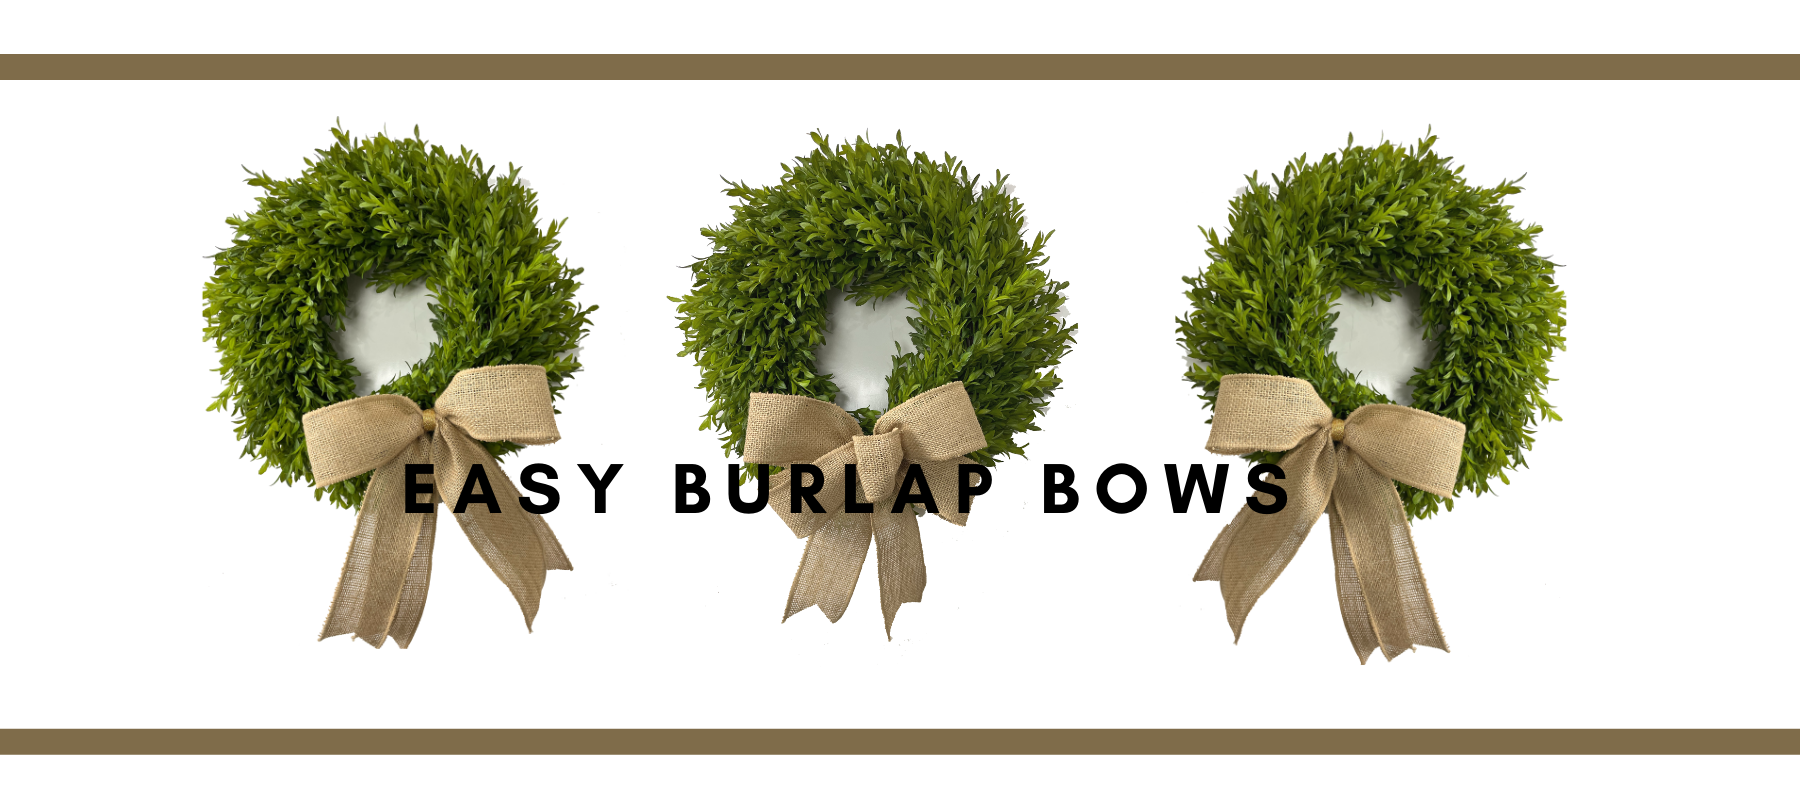
Make a bow using 2.5" burlap ribbon.
Start out with an 8" tail and make a 5" loop on one side and then the other.
Maker another 5" loop on each side. Now you. have two loops on each side.
Make a 5th loop only a couple of inches in size and end off with an 8" tail.
Use a zip tie to secure the ribbon.
Be sure to slide a chenille stem under the zip tie before pulling it tight.
Snip off the end of the zip tie with wire cutters, not your scissors.
Pull that last short loop over toward the center to cover up the zip tie.
Finish off the tails with a dove-tail cut or angled cut.
The second bow was made starting with extra tails. A 20" piece of ribbon was cut and placed in the bowmaker (making 10" tails).
The bow was started with a 10" tail and then a 5" loop on each side. Finishing off with another 10" tail.
We used a chenille stem to secure the bow.
Cover the mechanics (the chenille stem) with a folded piece of ribbon. Tie in the back and snip off the tails. A thin piece of ribbon is easier to tie than a thick one.
Finish off the tails by doing a dove-tail cut, angled cut or roll up the edges, or leave them plain.
A good friend of mine never trims the tails of her ribbons and her creations look beautiful. So just experiment with the look you like.
1. Use wired ribbon. Practice with inexpensive ribbon like a big roll from Sam's.
2. Watch lots of videos!
3. There is no right or wrong way, other than to make sure the "right" side of your ribbon shows.
4. Experiment with zip ties, chenille stems or floral wire for securing ribbon.
5. Paper wrapped floral wire holds better than plain wire
6. Finish off tails by angled cuts or rolling up bottom especially if the ribbon has a pretty back side.
7. Make your tails a little longer than you think you want, they can always be trimmed to shorten.
8. Don't be afraid to mix patterns, sizes or textures.
9. Find a bow pattern you like, and get it down pat before moving on to another style.
Here is another bow-making tutorial you might enjoy.

{"one"=>"Select 2 or 3 items to compare", "other"=>"{{ count }} of 3 items selected"}